Perfect Caramelized Onions
Recipe

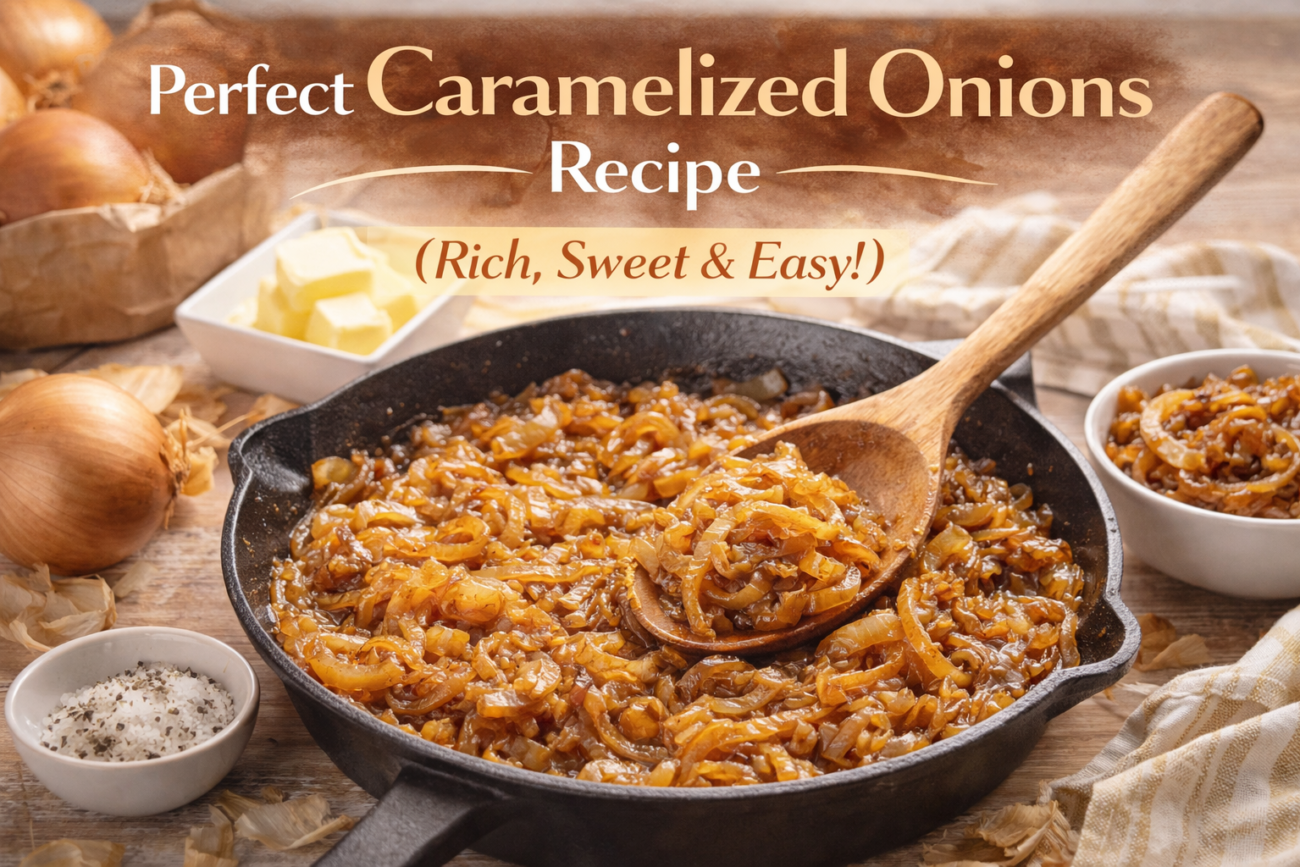
Rich, deeply golden, melt-in-your-mouth onions that take everything they touch to the next level — burgers, pasta, soups, and beyond.
5Ingredients
45Minutes
4Servings
EasyDifficulty
There is nothing quite like a pan of slowly caramelized onions — that moment when something sharp and pungent transforms into something impossibly sweet, silky, and deeply savory all at once. Once you learn how to make them properly, you will find yourself adding them to absolutely everything.
And yes, we need to talk about timing right away. Real caramelized onions take around 45 minutes. Not 10. Not 15. Anyone who has ever rushed this process knows the heartbreak of onions that are cooked but not truly caramelized. Low and slow is the only way to go, and trust me — every single minute is worth it.
“The secret to caramelized onions isn’t any fancy technique. It’s just patience — and a willingness to let the magic happen on its own timeline.”
This recipe walks you through everything: the right onions to use, the best pan, the common mistakes to avoid, and all the incredible ways to put your golden, jammy results to work. Let’s do this.
What You’ll Need
Ingredients for Caramelized Onions
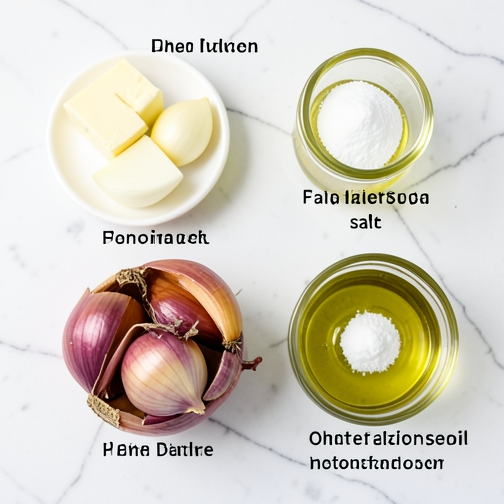
The beauty of this recipe is in its simplicity. You only need a handful of ingredients, and each one plays an important role in building that gorgeous, deep flavor.
Shopping List
- 3 lbsYellow or sweet onions — about 4 large; yellow gives the best flavor depth
- 3 tbspUnsalted butter — adds richness and helps browning
- 1 tbspOlive oil — keeps the butter from burning at medium heat
- ½ tspKosher salt — draws out moisture and speeds up the process
- 1 tspBalsamic vinegar or a splash of white wine — optional but adds gorgeous complexity
Choosing the Right Onion
Yellow onions are the gold standard here — they have the perfect sugar content to caramelize beautifully without becoming too sweet. Sweet onions like Vidalia work wonderfully too, giving a slightly milder, more jammy result. Red onions caramelize with a lovely color but are a touch more bitter, and white onions are a bit too sharp for this purpose. When in doubt, grab yellow.
And please — buy more onions than you think you need. A pound of raw onions shrinks down to a surprisingly small amount once caramelized. Three pounds sounds like a lot. After cooking, you will wish you had used four.
Step-by-Step
How to Make Perfect Caramelized Onions
Follow these steps carefully and you will never end up with pale, sad, soggy onions again. This process is straightforward — it just requires your attention and a little patience.
1: Prep Your Onions
Peel and halve the onions through the root. Lay each half flat and cut into thin, even slices — about ¼ inch thick. Try to keep them as uniform as possible so they all cook at the same rate. The root end holds the slices together while you cut, which helps a lot.
2: Heat Your Pan & Fat
Use a wide, heavy-bottomed pan — a cast iron skillet or a stainless steel sauté pan works best. You want surface area so the onions spread out rather than pile up and steam. Heat the butter and olive oil together over medium heat until the butter is melted and just starting to foam.
A bigger pan = faster caramelization. More surface area means more browning and less steaming.
3: Add Onions & Season
Add all the sliced onions to the pan at once — yes, it will look like way too many. Sprinkle with salt, which immediately starts drawing out moisture. Stir to coat everything in the butter and oil. The pan will be very full. That’s completely normal and it will shrink down dramatically.
4: Cook Low & Slow (The Patient Part)
Reduce heat to medium-low. Stir every 5 to 7 minutes, scraping up any golden bits from the bottom of the pan. The onions will soften, release water, shrink way down, and then — slowly, beautifully — begin to turn golden and jammy. This process takes 40 to 50 minutes. Do not rush it with high heat; you will just burn the outside before the inside softens.
If the pan looks dry and onions start sticking before they’re golden, add a tablespoon of water or broth and stir well to lift those precious caramelized bits.
5: Deglaze & Finish
Once the onions are a deep, rich golden-amber color and have reduced to about one-fifth of their original volume, you are almost there. If using, add the splash of balsamic vinegar or white wine and stir vigorously for about a minute. It will hiss and bubble — that’s the good stuff. This step adds a gorgeous layer of acidity that balances all that sweetness. Taste and adjust salt. Done.
7 Pro Tips for the Best Caramelized Onions
- Use a wide, heavy-bottomed pan. Cast iron and stainless steel are your best friends here — they hold and distribute heat evenly, preventing hot spots that burn.
- Never walk away completely. You do not need to stir constantly, but check and stir every 5–7 minutes. The onions will let you know when they need attention — you’ll smell them.
- Don’t add sugar. Many recipes add a pinch of sugar to “help” caramelization. Skip it. Real onion sugar, when given time, is far more flavorful than refined sugar.
- Add a pinch of baking soda to speed things up slightly. Just ¼ teaspoon raises the pH and speeds up the Maillard reaction. Use sparingly — too much makes a mushy texture.
- Deglaze with something flavorful. A splash of balsamic vinegar, dry white wine, sherry, or even a good beef broth adds complex layers that plain onions alone can’t achieve.
- Make a big batch. Caramelized onions freeze beautifully for up to 3 months. Triple the recipe and freeze in tablespoon-sized portions for instant weeknight magic.
- Salt at the beginning, not the end. Early salting draws out moisture faster and kickstarts the softening process, shaving a few minutes off your total cook time.
Healthy Creamy Tuscan Salmon Pasta You’ll Crave Every Week
🔬 The Science Behind the Sweetness
What actually happens during caramelization? When you apply low, steady heat to onions over time, two separate reactions occur. First, the heat breaks down the cell walls, releasing the natural sugars locked inside the onion’s tissues. Then, the Maillard reaction kicks in — a complex chemical dance between those freed sugars and the amino acids in the onion that produces hundreds of new flavor and aroma compounds.
This is why properly caramelized onions have such extraordinary depth of flavor — there are literally hundreds of distinct aromatic molecules at work, far more complex than the raw onion you started with. The resulting sweetness isn’t added sugar; it’s natural onion sugar that has been concentrated and transformed by chemistry and patience.
Avoid These Pitfalls
Common Caramelized Onion Mistakes
Using High Heat to Save Time
This is the number one mistake, full stop. Cranking the heat to medium-high or high doesn’t caramelize onions faster — it burns the outside while leaving the center raw and bitter. The resulting onions taste sharp and acrid rather than sweet and silky. Low and slow is non-negotiable. If you are truly short on time, make something else and come back to this recipe when you can give it the attention it deserves.
Not Slicing Thinly or Evenly
Thick slices take forever to soften, and uneven slices mean some pieces will be perfectly done while others are still hard. Take two extra minutes during prep to cut consistent, quarter-inch slices and you will thank yourself 40 minutes later.
Using Too Small a Pan
Piling three pounds of onions into a medium saucepan creates a steaming situation rather than a browning one. The moisture has nowhere to escape and the onions just stew in their own liquid. Use the largest, widest pan you own.
Forgetting to Deglaze
Those brown bits stuck to the bottom of the pan are pure flavor gold. Do not skip the deglaze step or clean the pan mid-cook. Every time you add a splash of liquid and scrape up those bits, you are incorporating concentrated, caramelized onion flavor back into the mix.
Put Them to Work
10 Amazing Ways to Use Caramelized Onions
Once you have a batch of these gorgeous, golden onions ready, the possibilities are genuinely endless. Here are some of our favorite ways to use them.
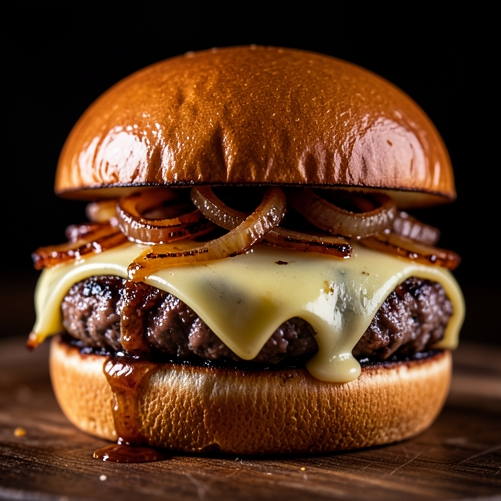
🍔 Smash Burgers
Pile generously on a melty cheeseburger. The classic for a reason.
🥖 French Onion Soup
The entire backbone of this iconic bistro classic.
🍕Pizza & Flatbreads
Top with gorgonzola and walnuts for a showstopper pizza.
🥩Steak Topping
Spoon over a ribeye or sirloin for an instant upgrade.
🥗Grain Bowls
Adds savory sweetness to any grain bowl or salad.
🫕Savory Tarts
Mix with goat cheese in a buttery tart shell.
🥪Grilled Cheese
Transform a simple sandwich into something extraordinary.
🍝Pasta & Risotto
Stir into pasta sauce or finish a creamy risotto.
🫙Dips & Spreads
Fold into cream cheese or sour cream for an incredible dip.
🥚Eggs & Omelets
Stuff into a morning omelet with brie or gruyère.
Make Ahead & Store
How to Store Caramelized Onions
One of the best things about this recipe is how beautifully it lends itself to batch cooking. Make a big batch on Sunday and you’ll have an incredible flavor weapon ready for the whole week.
❄️Refrigerator5–7
Days in an airtight container
🧊Freezer3
Months — freeze flat in bags or in an ice cube tray
🫙Jar TipPro
Pour a thin layer of olive oil on top to seal and preserve
To reheat refrigerated caramelized onions, simply warm them gently in a small pan over low heat with a splash of water or broth. They come back to life beautifully and taste just as good as the day you made them. For frozen onions, break off a chunk straight from the freezer and drop it into whatever you’re cooking — soup, pasta sauce, a hot pan for burgers.
Your Questions Answered
Frequently Asked Questions
Why do my caramelized onions take so long?
Because that’s just how long real caramelization takes — and that’s a feature, not a bug. You are waiting for the Maillard reaction to fully develop and for the natural sugars in the onions to concentrate and brown. Any recipe that claims you can make truly caramelized onions in 10 or 15 minutes is producing sautéed onions, not caramelized ones. The 45-minute investment is what gives them that incredible, irreplicable depth of flavor.
Can I use a slow cooker or Instant Pot?
Yes! For a slow cooker, add your onions with butter and salt on low for 10 hours or high for 5–6 hours, then transfer to a skillet to evaporate any liquid and develop color. For an Instant Pot, use the sauté function on high for about 30 minutes, stirring frequently. Both methods work, though the stovetop version gives you the most control and typically the best, most developed flavor.
Why do my onions burn instead of caramelize?
The heat is too high, or the pan is too dry. Caramelization requires gentle, steady heat. If you see the onions browning too quickly in the first 20 minutes, they are burning rather than truly caramelizing. Reduce the heat immediately, add a tablespoon of water, and stir well. True caramelization happens slowly and evenly, with the onions going from pale gold to deep amber over time.
What is the difference between caramelized onions and sautéed onions?
Sautéed onions are cooked quickly over medium-high heat until softened and lightly golden — this takes about 8–10 minutes. They taste onion-y, mildly sweet, and slightly soft. Caramelized onions are cooked slowly over low heat for 45+ minutes, resulting in deeply golden, silky, jammy onions with a profoundly rich, sweet-savory complexity. The flavors are dramatically different. Think of sautéed onions as the opening act and caramelized onions as the headliner.
Can I caramelize onions in bulk and freeze them?
Absolutely — and this is one of the best meal prep moves you can make. Allow your caramelized onions to cool completely, then portion them into a silicone ice cube tray and freeze solid. Pop the frozen cubes into a zip-lock freezer bag and store for up to three months. Drop a cube straight into soups, pasta sauces, gravies, or stir-fries from frozen — no thawing required.
Ready to Transform Your Cooking?
Caramelized onions are one of the great foundational preparations of home cooking. Learn this, make it your own, and watch how it quietly elevates everything else you cook.
Share this content: